Meliora Testlab’s new version has been released to, importantly, include the first language model-based AI features. You can save time dramatically by designing your test cases with the help of the new AI assistant. Along with the new features, the UI of Testlab has seen various enhancements that we think make it more intuitive and consistent.
Please read more about the new release – Brazen Head – below.
AI-assistant [incubation feature]
Software development is always in flux, driven by evolving methods, practices, and tools. The rise of language model-based AIs accelerates this change.
Language models work on written material. From the software development and quality assurance viewpoint, the organizations that have control of maintained specifications (incl. other assets) of the business-critical software, are winners in this evolution. Based on this fact Meliora has a vision of AI features that we start to roll in this and future versions of Testlab.
The purpose of using AI is not to replace humans. AIs should be seen as a next-generation tool – an effective assistant – that makes work more efficient and does the things that prevent people from focusing on what is essential. In this release, we introduce a new main view called AI-assistant:
- The AI-assistant view is a home for all AI-based wizards.
- A wizard is a step-by-step executed assisting tool, driven by an LLM-based artificial intelligence engine, that will help you to do some task or achieve some goal in your project.
- New wizards will be introduced in future versions of Meliora Testlab.
As using the AI-assisted engine might affect your data privacy, the assistant is not automatically enabled for your Testlab instance. As an administrator user, you must explicitly enable these features. As you do this, you are informed about how the assistant processes your data and you can make a choice if these features suit you.
AI-assistant: generating test cases from your specification [incubation feature]
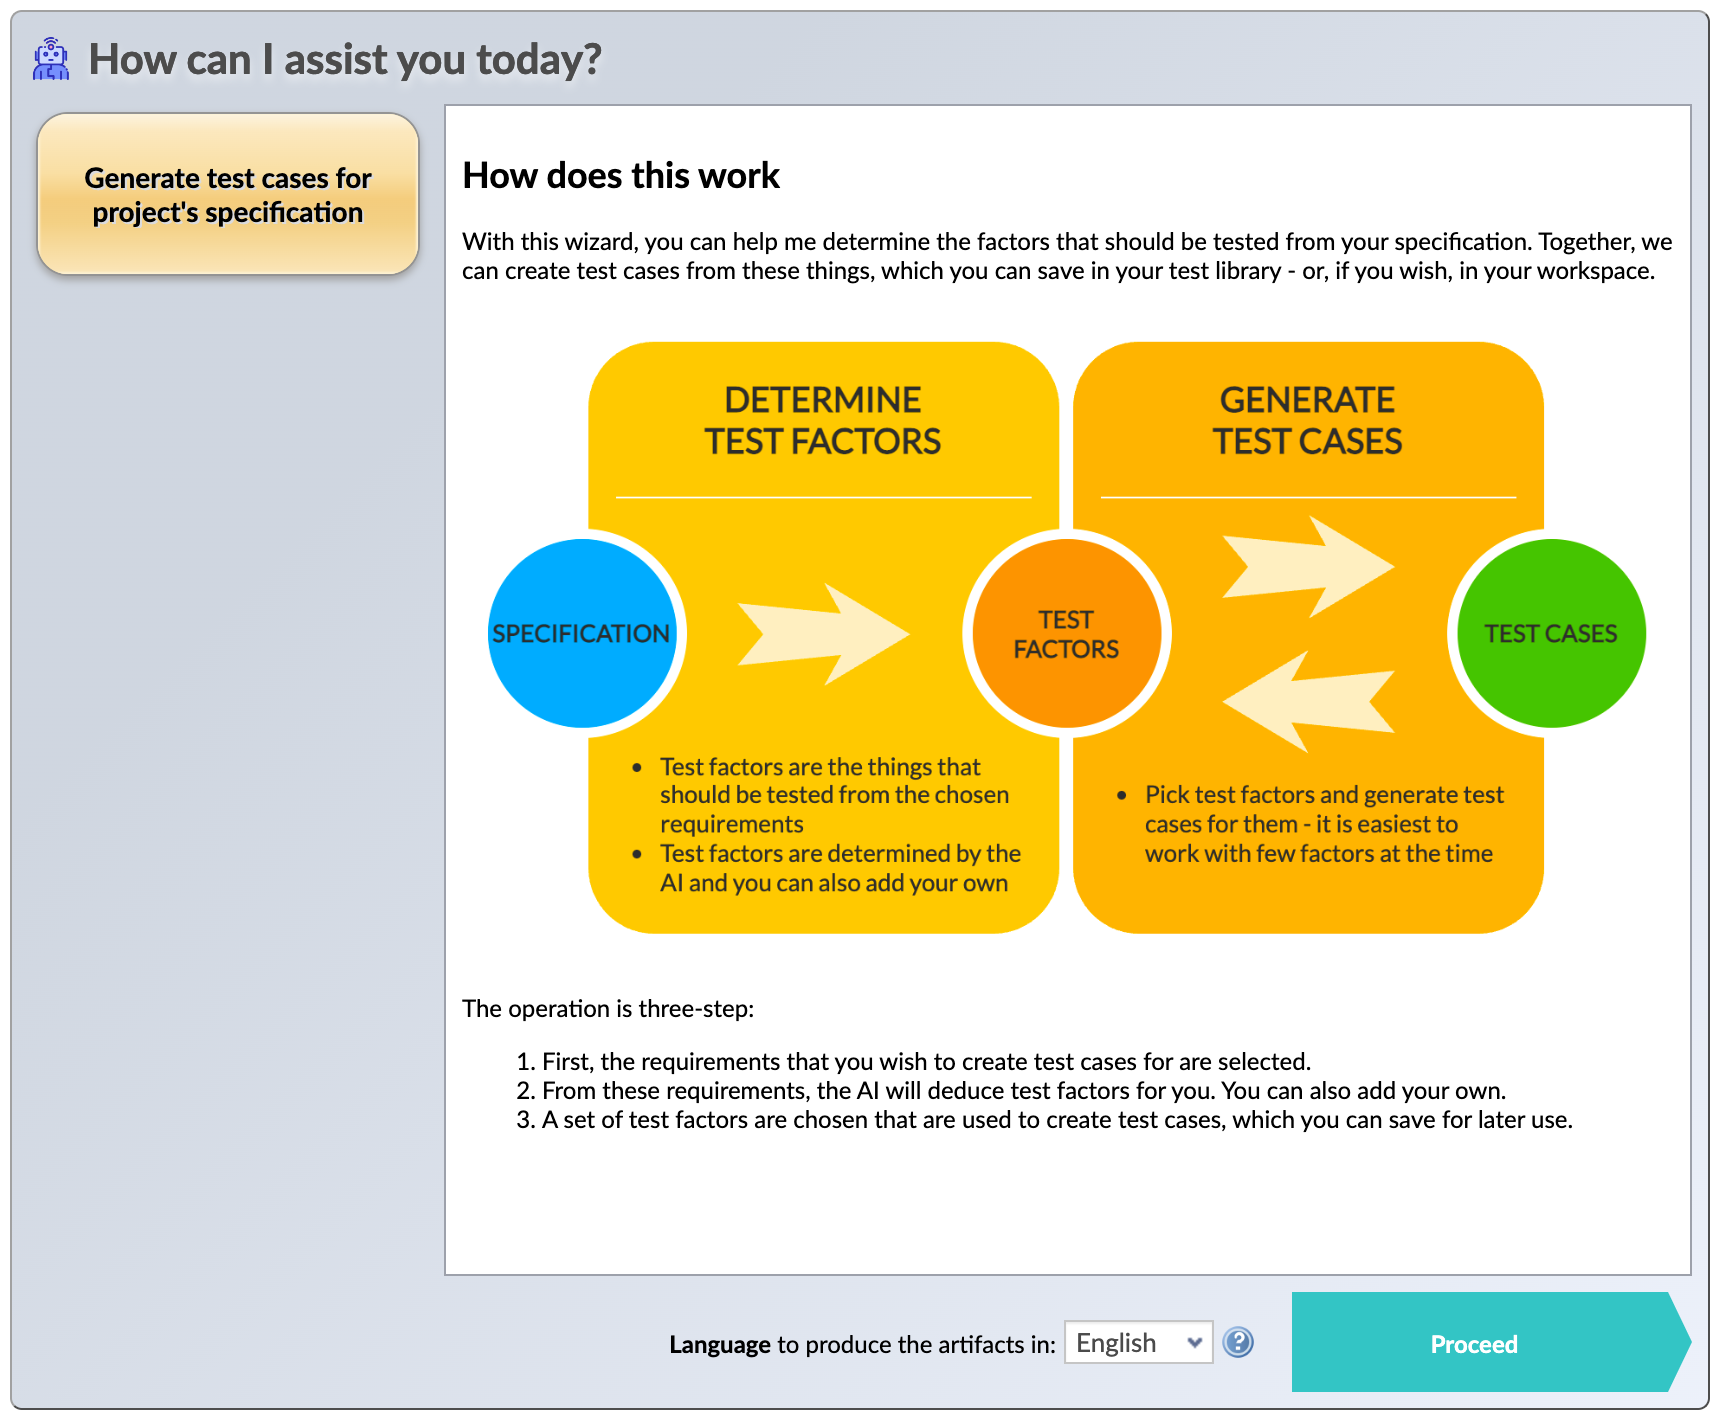
The first wizard implemented to the assistant – “Generate test cases for project’s specification” – helps you dramatically to design your test cases. You can save time, spar with the assistant to come up with more detailed steps, and to put it simply: come up with much better test cases in a shorter time.
Think of the assistant as a test designer with whom you work together. As you work with the assistant, the operation is three-step:
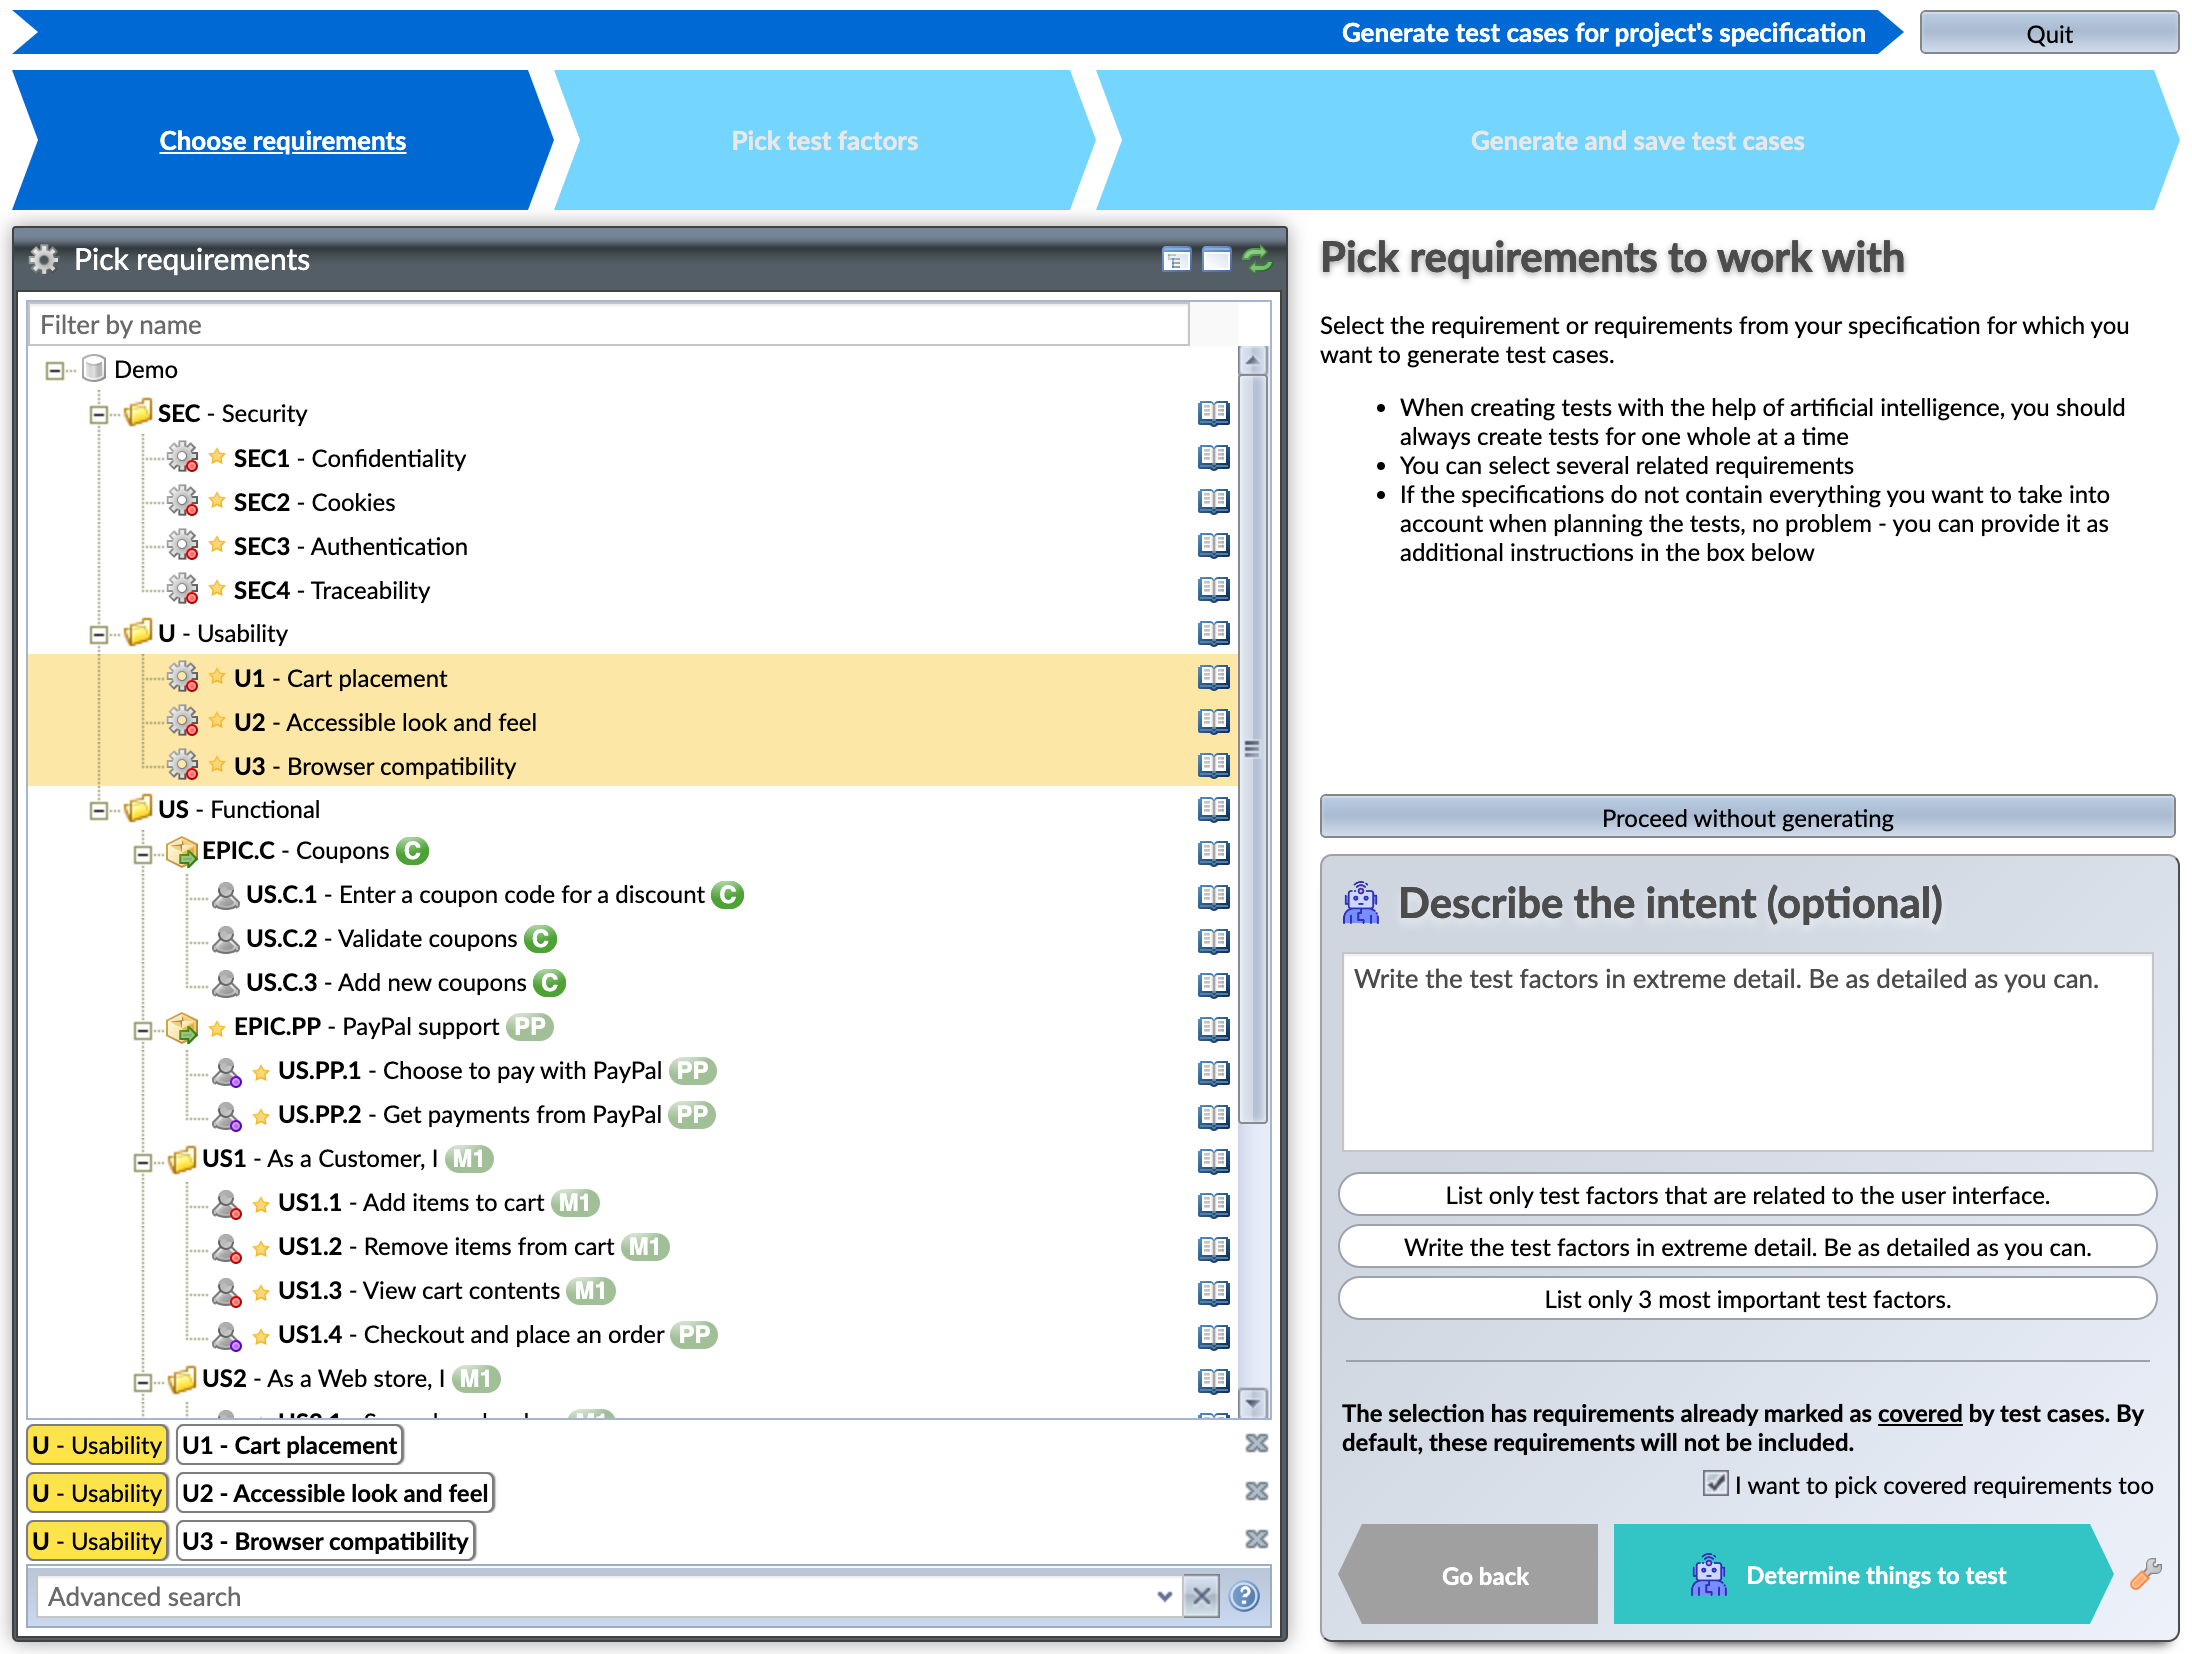
- First, the requirements from your specification are selected. This specification sets the basis for the things that you wish to design the test cases for.
- Similarly to the way human testers work, first, you think of some things that you would like to test. The assistant will automatically deduce these test factors for you. Test factors are the things that should be tested from the specification. You can of course add your own test factors as you come up with them or, just let the assistant come up with them.
- From the chosen test factors, the assistant will write test cases for you. You can edit and finalize them to your liking and then, save them for later use.
Give it a go. Remember, think of the assistant as a working partner and work with a small set of requirements and test factors at the time.
New Help manual
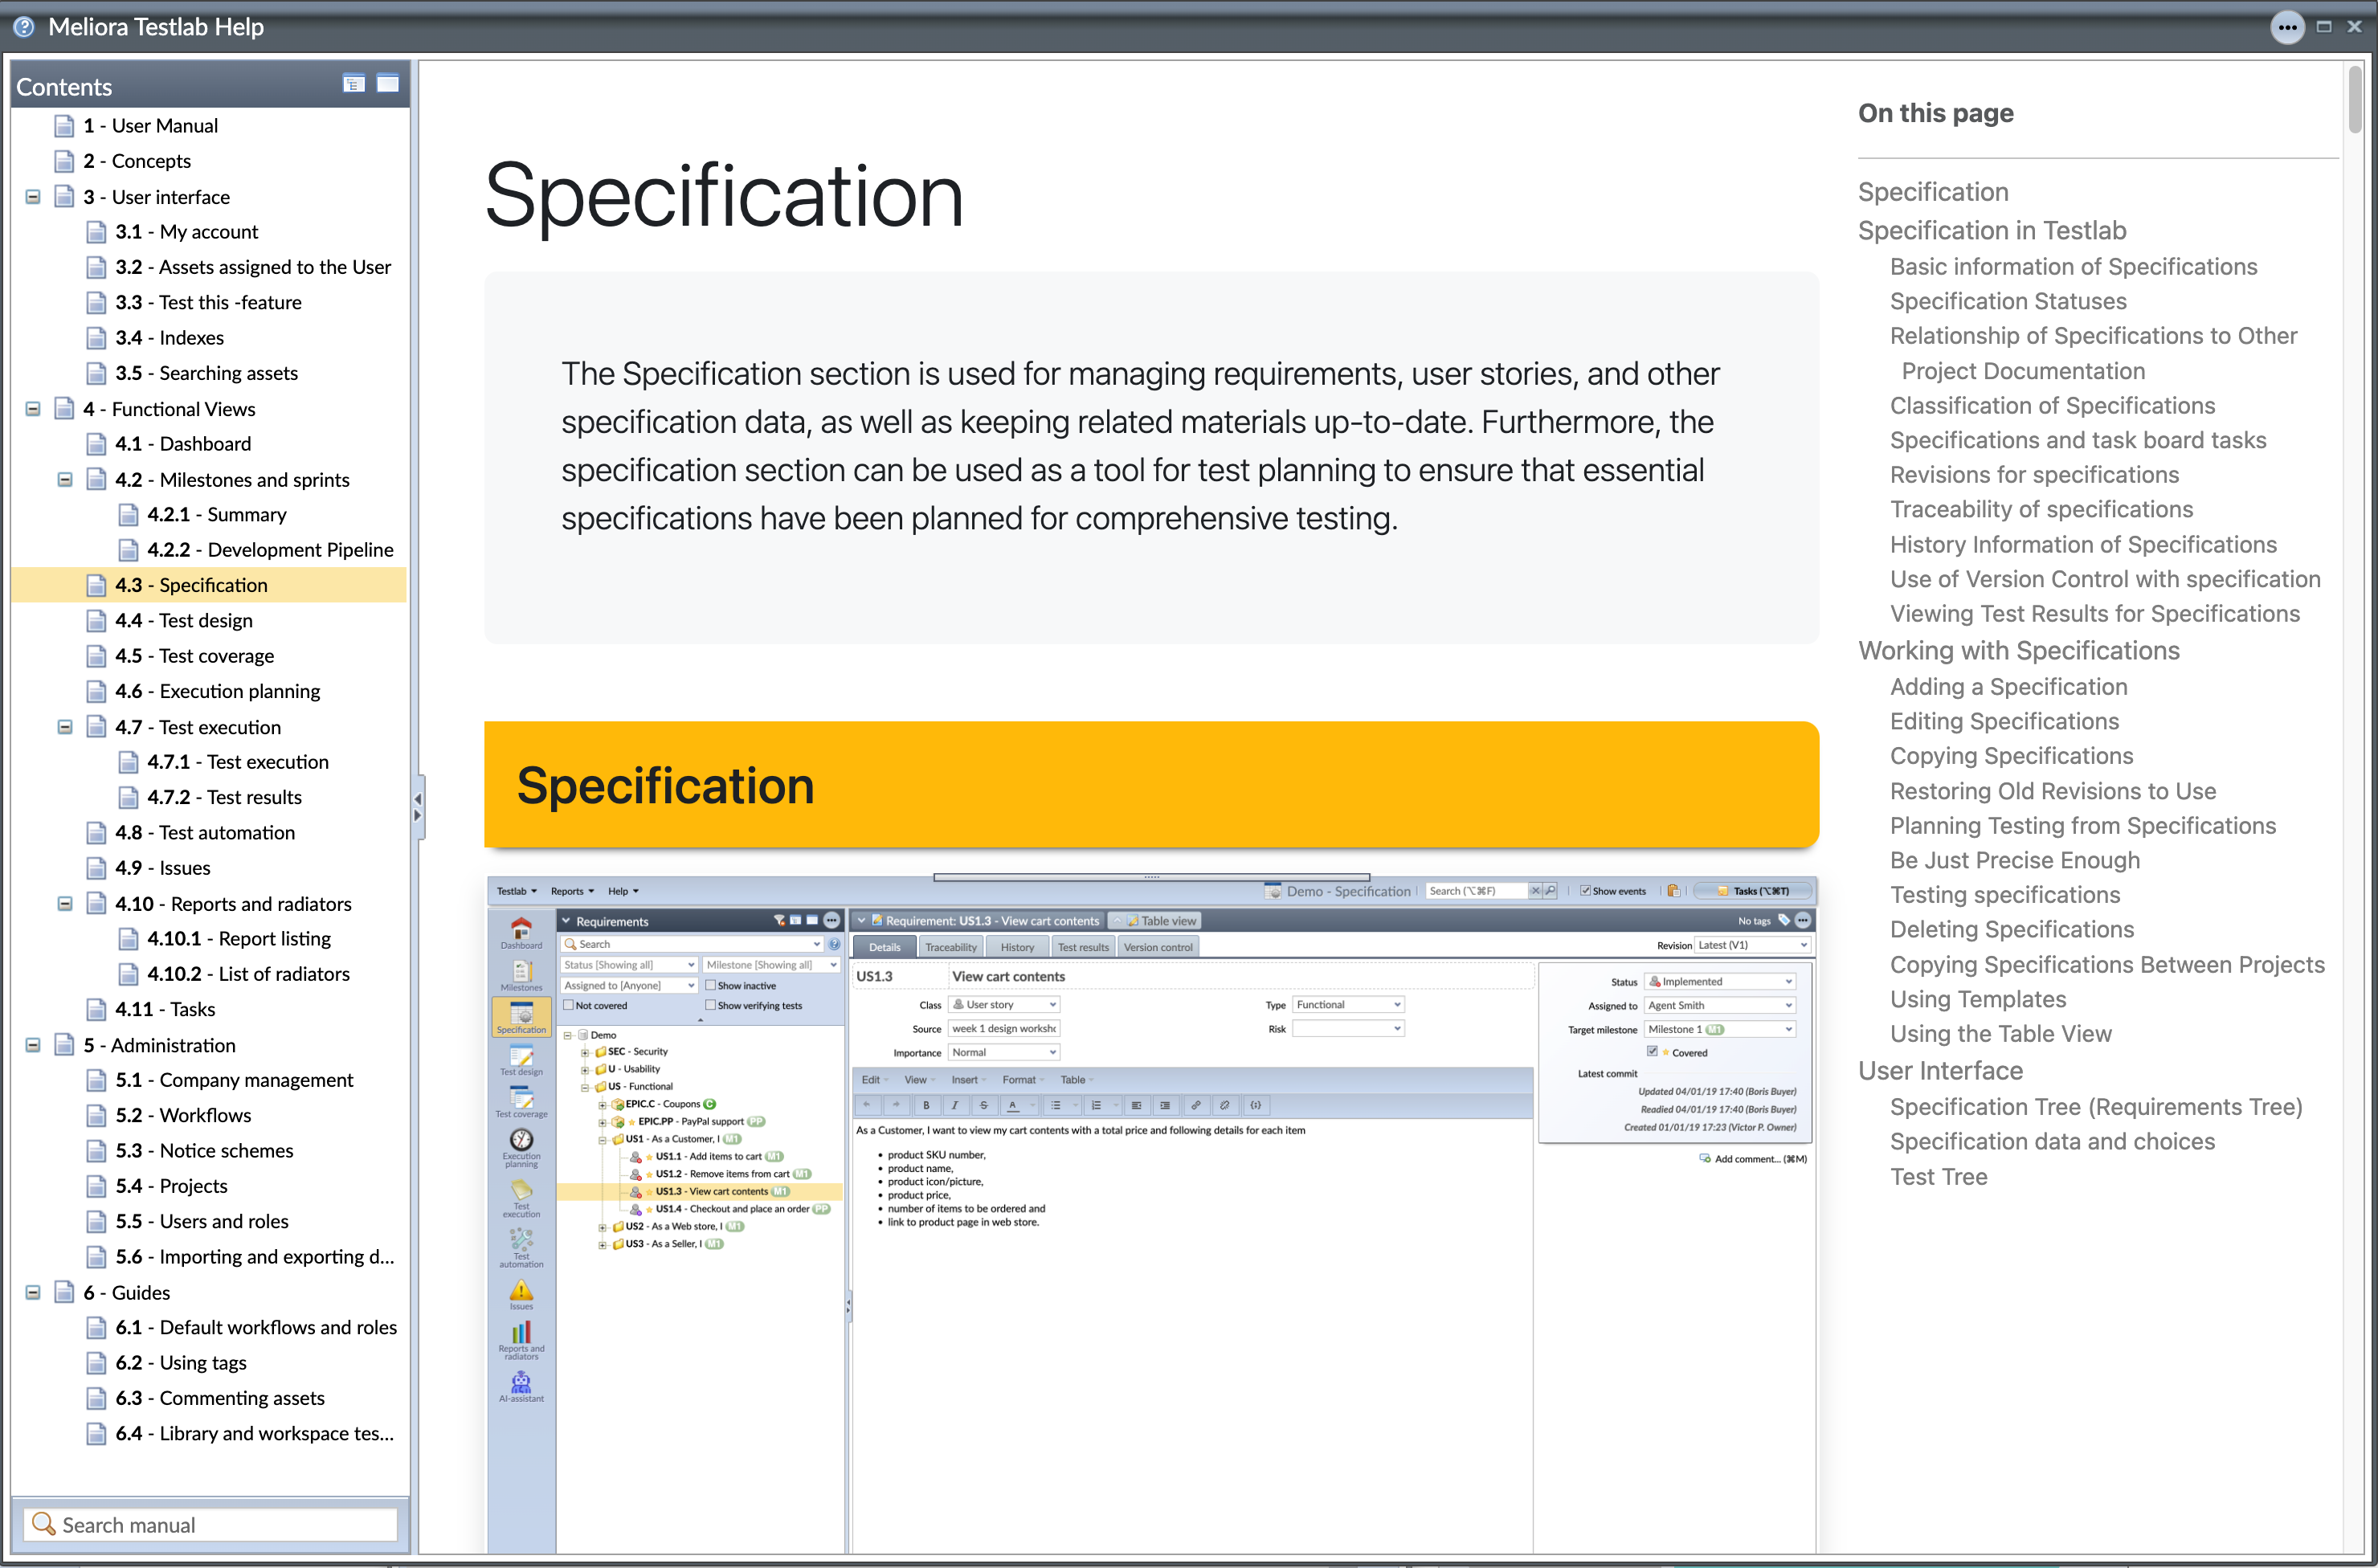
The built-in Help manual of Testlab has been completely rewritten. The manual has been restructured from a feature-description approach to a user-centric methodology. Instead of simply explaining the interface buttons and features, it now guides users on how to accomplish tasks using the tool. This makes the manual easier to read, more intuitive, and user-friendly.
Panel for common controls
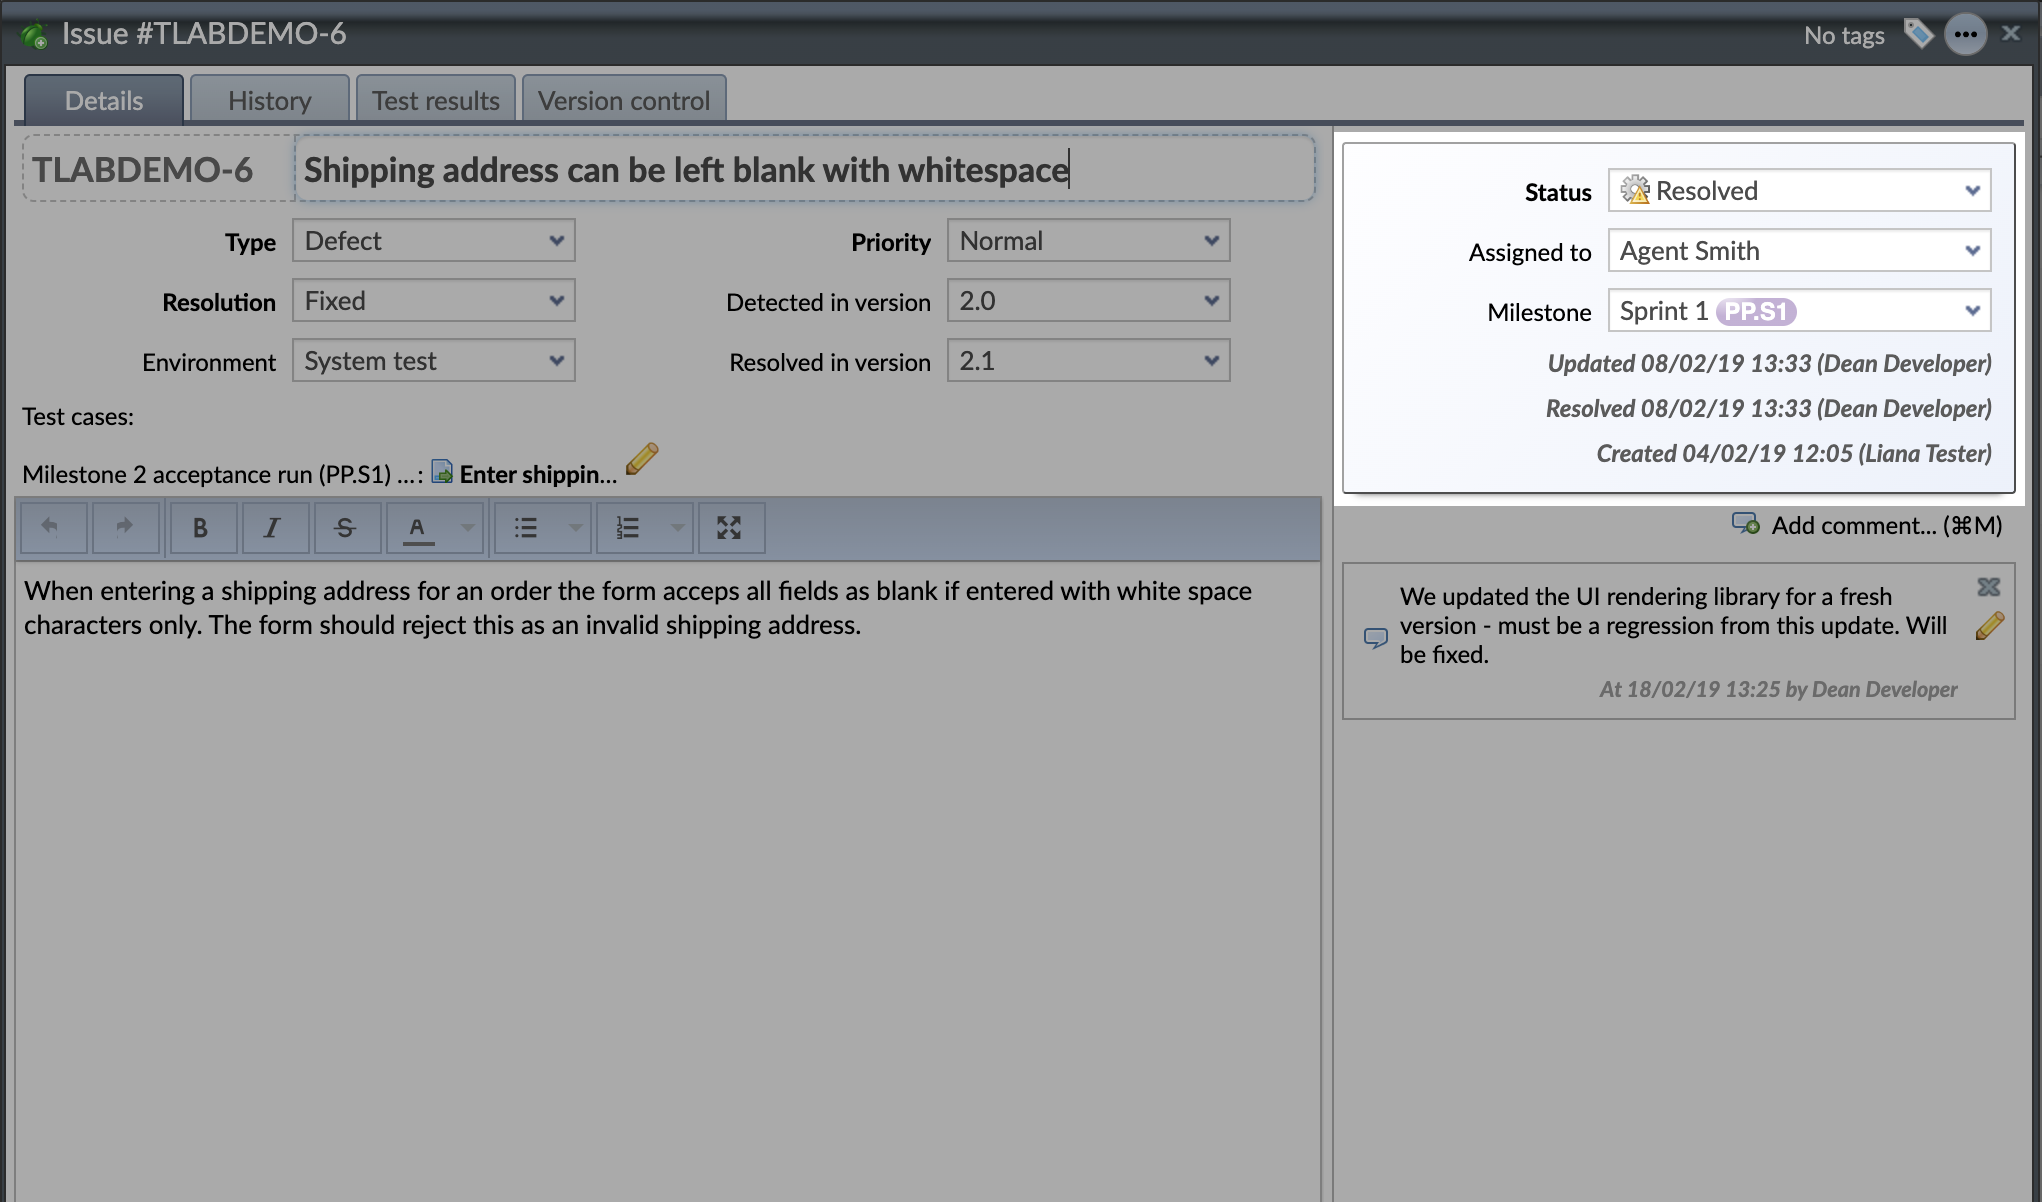
The central assets in Testlab, test cases, requirements, and issues, have many common controls and data fields:
- the (workflow) status they are currently in,
- the user the asset is currently assigned to,
- milestone the asset is targeted to and
- many timestamp and actor fields such as “updated at” and “updated by”.
To unclutter the UI, these common controls have been put together into a panel that is always shown on the right-hand side at the appropriate view. Some additional commonly used fields are also shown in this panel, for example, the “Covered” checkbox is always found in this pane at Specification view.
With the new form structure, the order of the fields on the forms changes. If you feel the order should be different, please configure the order from the project field settings.
New control for linked assets
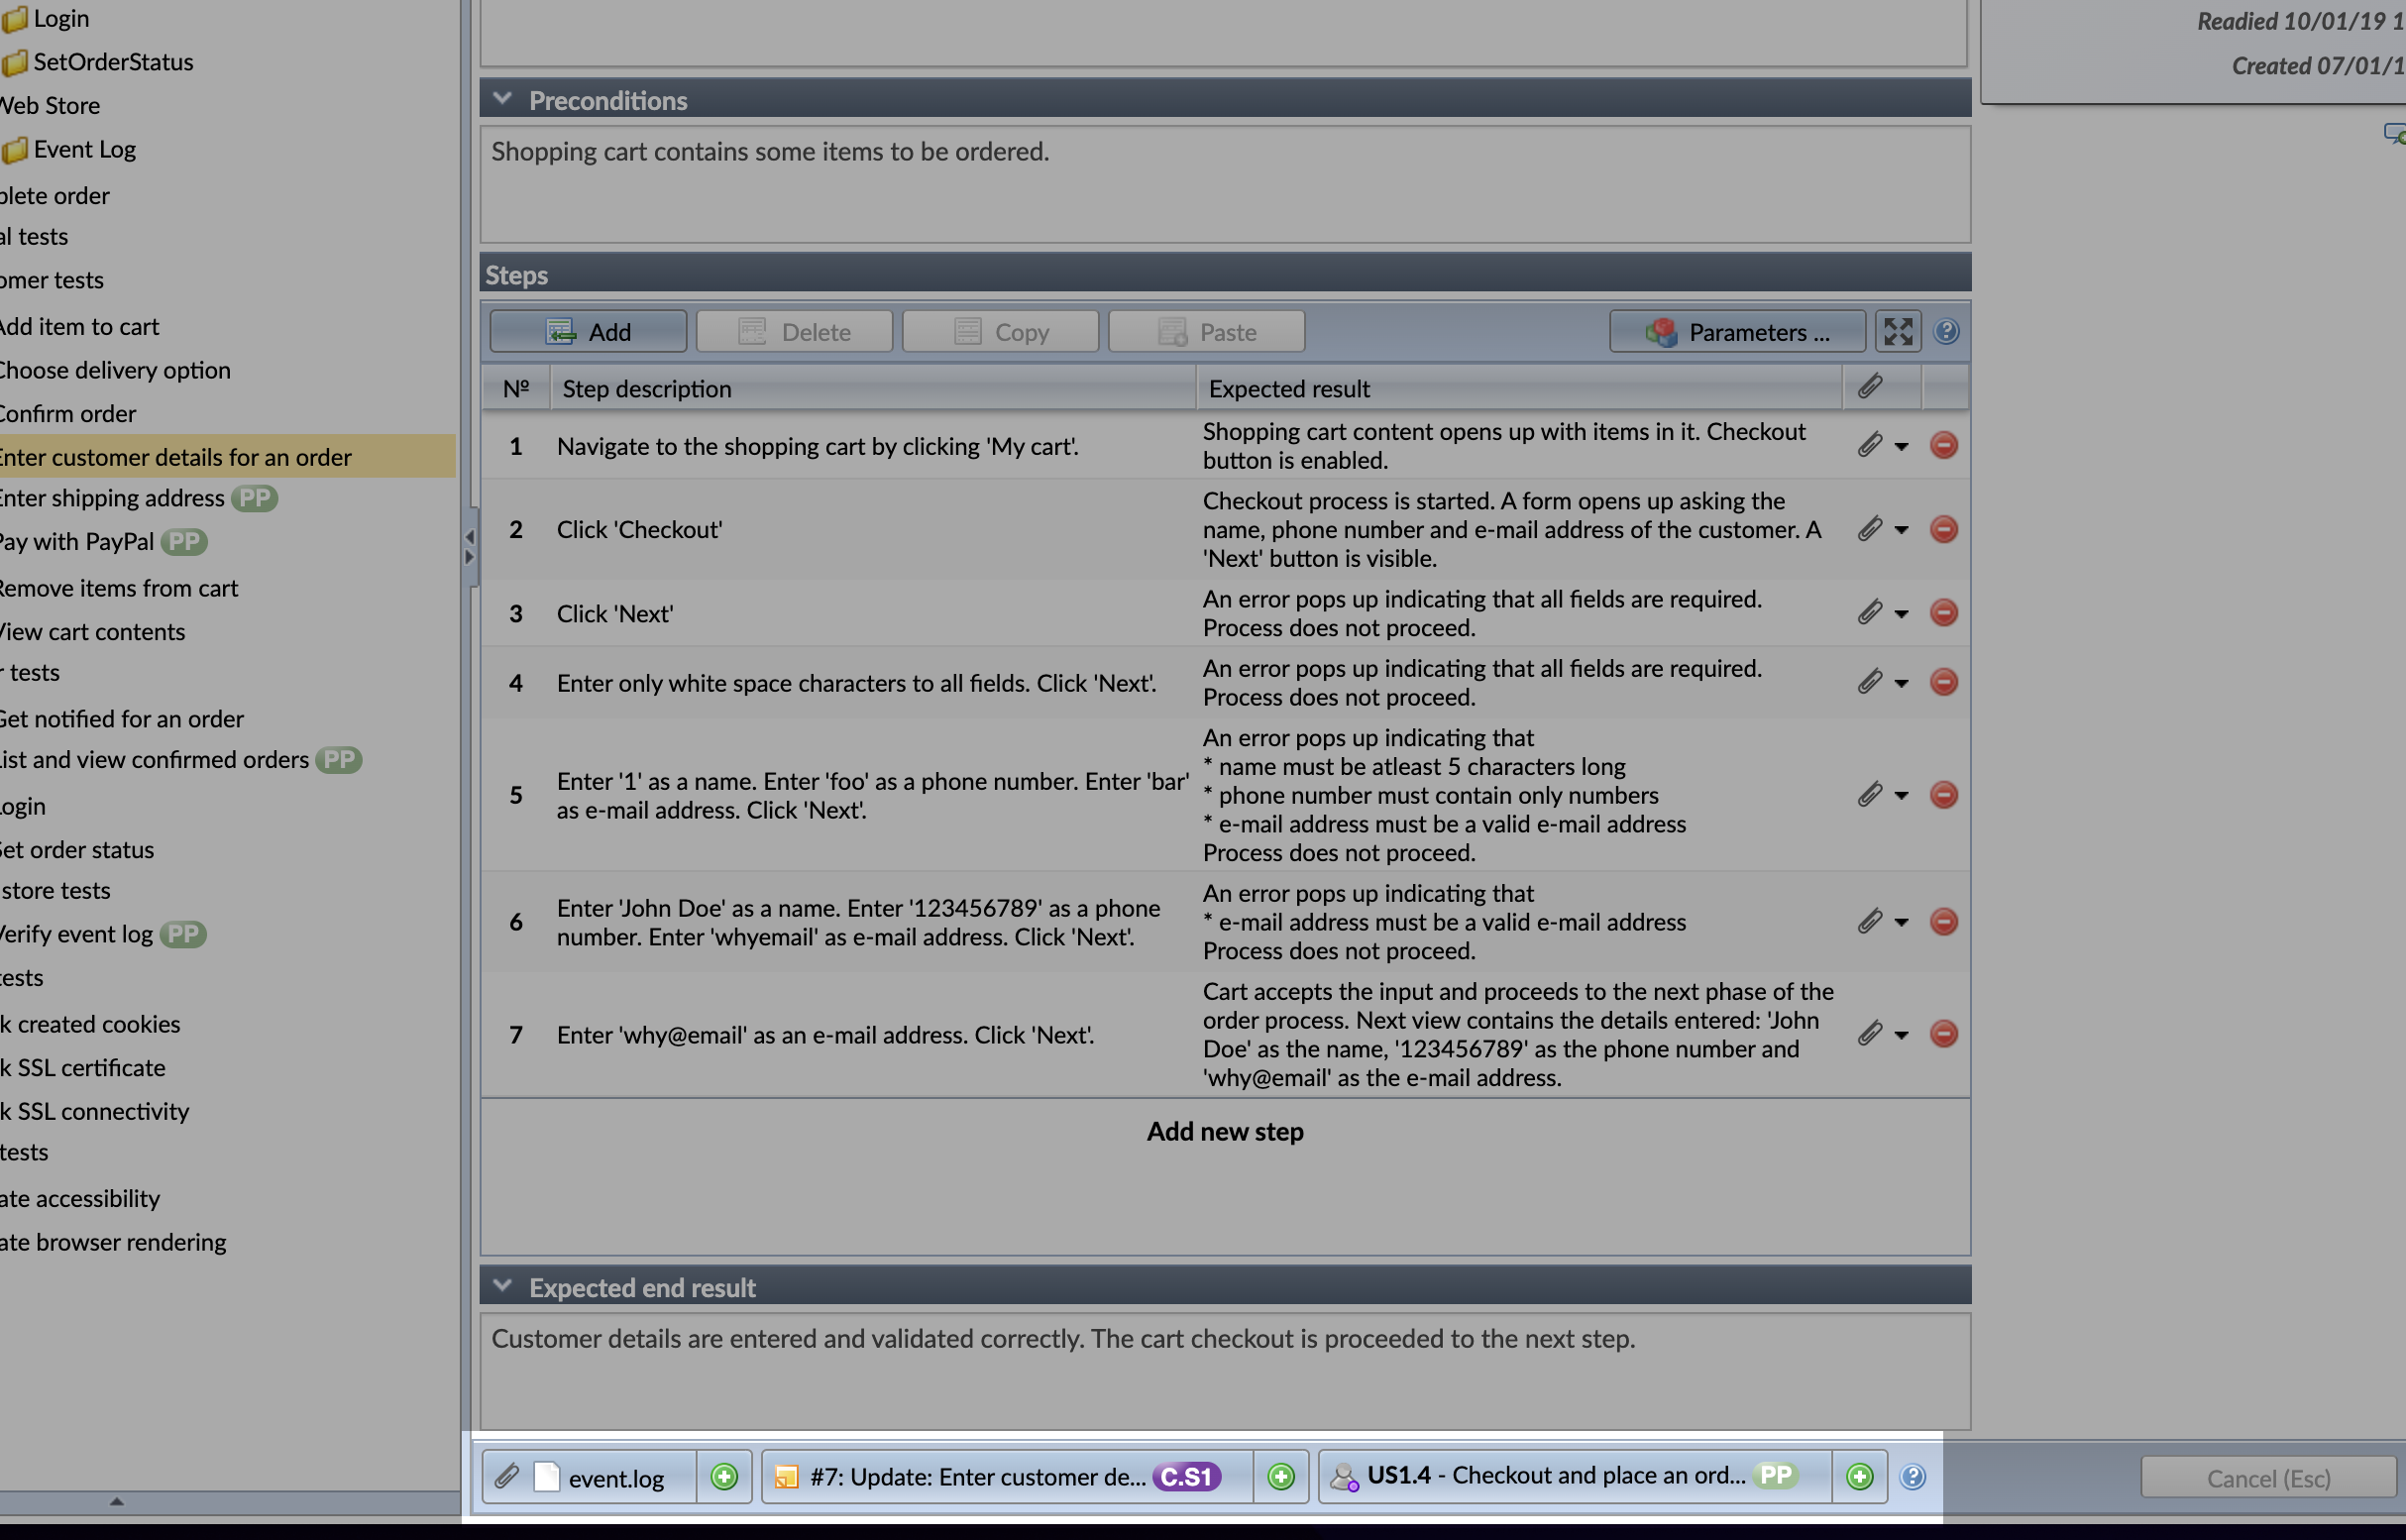
Many assets in Testlab have relationships between them. Assets have files attached to them, requirements are verified by test cases, assets may have tasks coupled with them, etc.
A common, simpler UI component has been designed to manage these links. This component can be found in the Test design, Specification, Issues, and manual testing views. Linked assets are presented in a uniform manner and you can easily manage the links from this same control.
Streamlined test design view
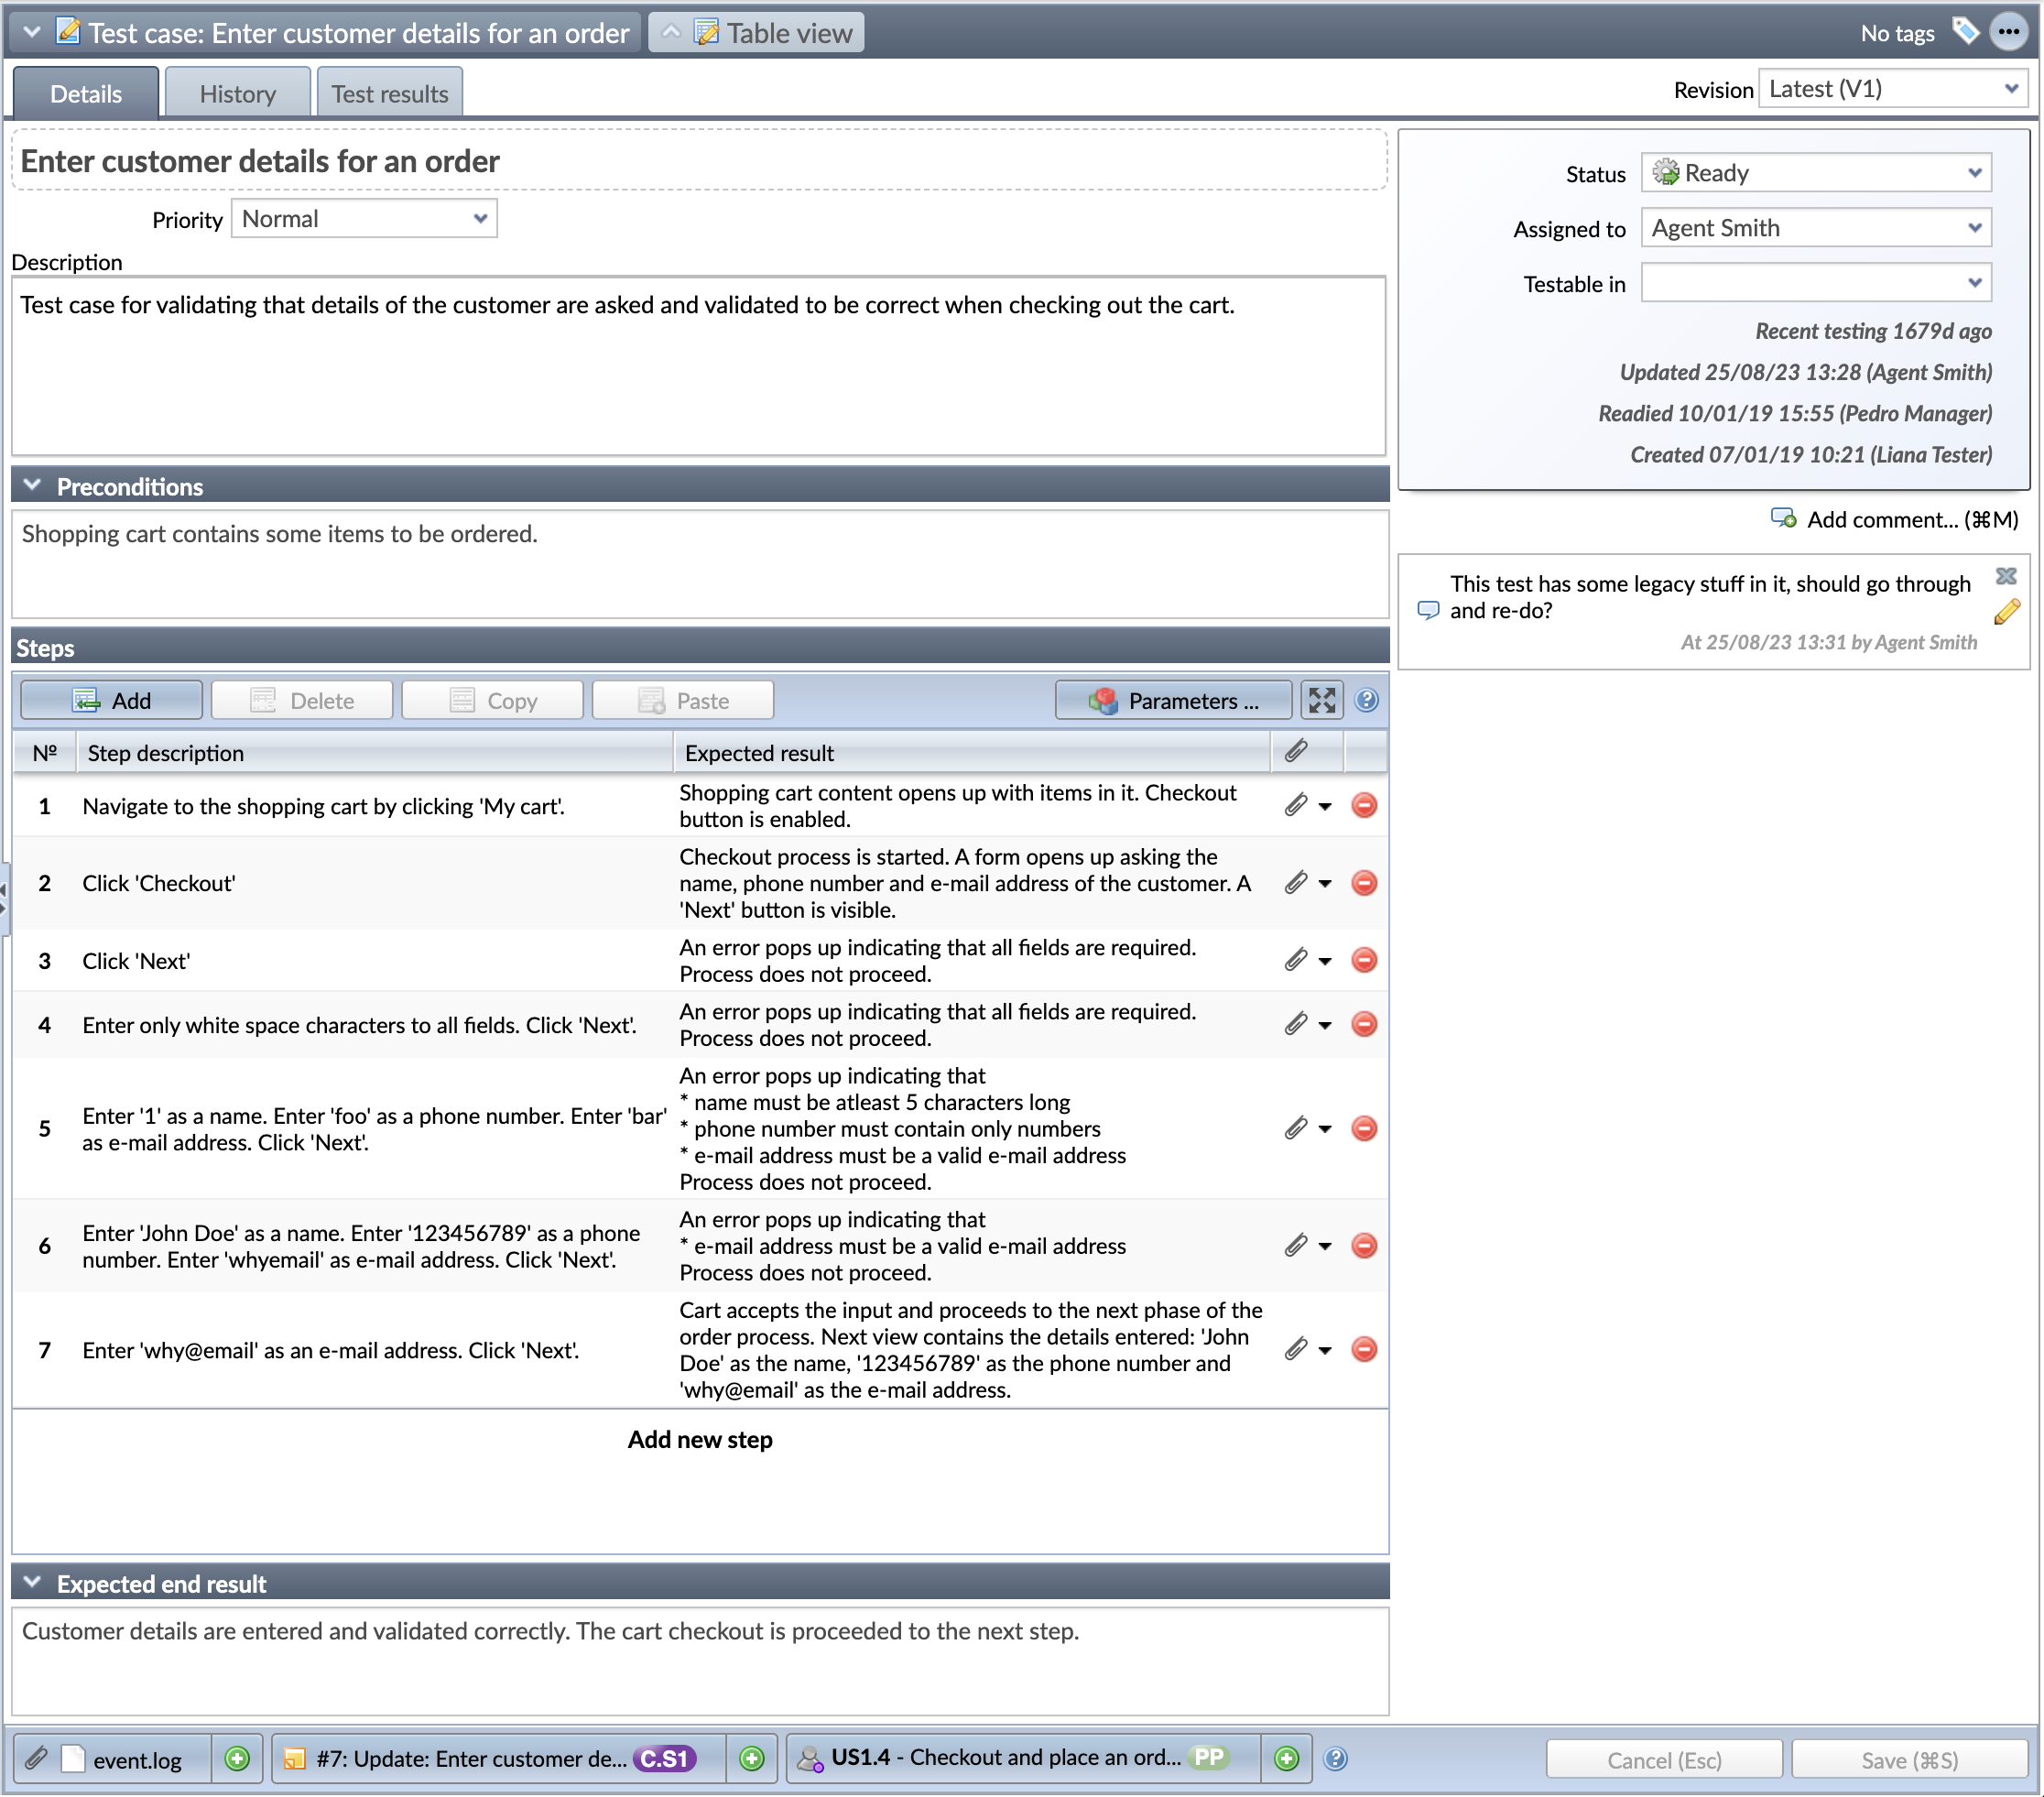
To use the space provided by the UI better, the test design view has been streamlined as follows:
- The execution details such as preconditions, execution steps, and expected end result, have been moved from a separate tab to the first tab.
- The table view (the grid that you can use to manage many test cases at the time) can now be accessed via a button found in the top header bar of the view.
- Assets linked to the test case are shown and managed with the new control at the bottom, as explained above.
- At the top of the comments, a new panel for common controls (see above) has been added.
A consistent way to navigate links
There are many places in the UI from which you can access and navigate to other assets. For example, as you are testing test cases, the test case in the list of tests can be clicked to either open up the details of the test case to a new browser window or, to open up the test case for editing in the Test design view.
In Brazen Head, all these links and the transitions via the link have been made to work as follows:
- If you click the link with the Control-key (Command-key on Mac) pressed, the asset is opened for editing inside Testlab.
- If you just click the link (without any special keys), the details of the asset are shown in a new browser window.
In addition to the above,
The following changes are included:
Simplified workflow
In previous versions of Testlab, changing the status of an asset from one to another was done by pressing a workflow button. These actions were defined in the workflow definition.
In Brazen Head, the statuses are changed directly by changing the status field. For administrators the workflow editor has also been made simpler – The workflows are simply specified with a list of statuses and with relationships between them.
For example, earlier test cases were made ready by clicking the “Mark as Ready” -button – now the status is changed to “Ready”.
Stylized title field for asset’s name
To underline the importance of the name (or title) of the asset, the UI now has a clear and more contrasted control to edit it. You can find this control from the Specification, Test Design, Issues, and Tasks views.
Simplified way to generate IDs for requirements
In Brazen Head, you don’t need to explicitly control if the ID for a requirement in your specification should be automatically generated or not. The ID is simply always generated if it is missing.
Easier way to assign readied assets
You can now always assign assets, even if they have been accepted as ready already.
Configure the way timestamp fields are shown
You can now configure if you wish to see timestamp fields as absolute dates or in a simplified format (such as “3 days ago”). This setting can be found in the Testlab > My account view.
Thank you for all your feedback,
Meliora team

A Brazen Head was an automaton in the early modern period, variously mechanical or magical. It can be said the heads were magical medieval supercomputers. In some legends, the head was reputed to be able to answer any question in a “binary” yes or no manner.
(Source: Tedium, Wikipedia, James Baldwin’s Thirty More Famous Stories Retold, “Friar Bacon and the Brazen Head”, p. 72)

